1950’s Bungalow Renovation
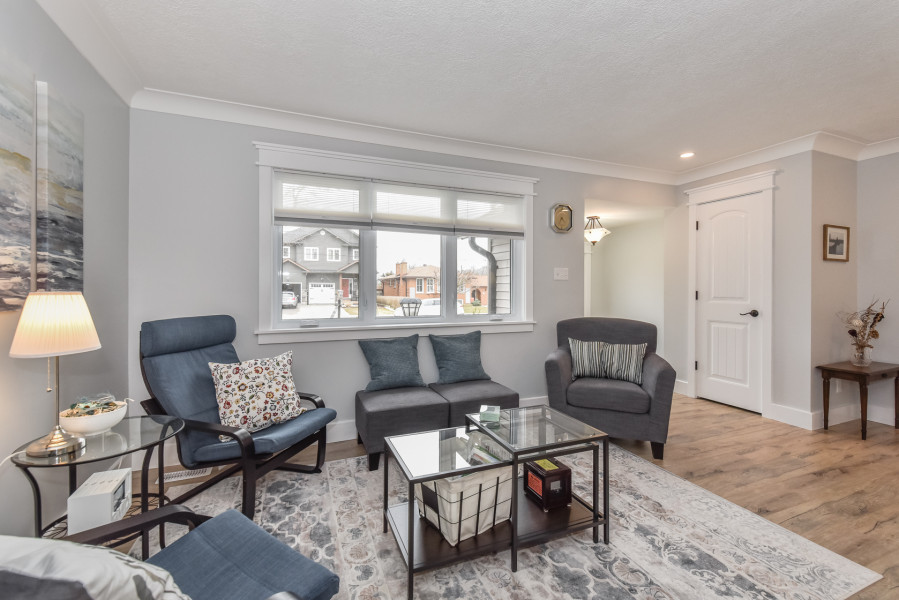
This 1950’s bungalow was well loved over the years but its last update was 20 years ago, so it was ready for some fresh ideas. This house was built before drywall was popular. The walls and ceilings were rock lath plasterboard and plaster. The living room had beautiful plaster crown moulding and swirled plaster design on the ceiling in excellent condition. Keeping this feature was a high priority. Buildings from this era are also notorious for asbestos to be found in many of the materials used in their construction. Since asbestos abatement is costly and not needed if the asbestos containing building products remain undisturbed and in good condition, all plans would depend on the asbestos test results. Fortunately, the asbestos tests were negative except for a section of basement heating duct pipe in the basement – more on that later.
Energy Efficiency Considerations in Renovation
Embarking on a renovation allows an opportunity to consider energy efficiency. Opening walls allows an opportunity to assess and address any issues before the application of new finishes. To increase energy efficiency, the existing exterior wall insulation needed to be addressed. The exterior walls were constructed from true 2 x 4 lumber and while fiberglass batt insulation was used, it was only R8. Instead of furring out the walls to accept thicker batt insulation, the best option for this project was a spray foam application which provides a higher R-value per inch. This would allow for R20 without furring out the walls. Keeping that plaster ceiling in the living room, led to keeping all the ceilings, and by using closed cell spray foam, spraying a minimum of 1” of foam over the ceiling would also create a vapour barrier. The remaining R-value for the ceiling insulation would then be made up with blown in insulation.
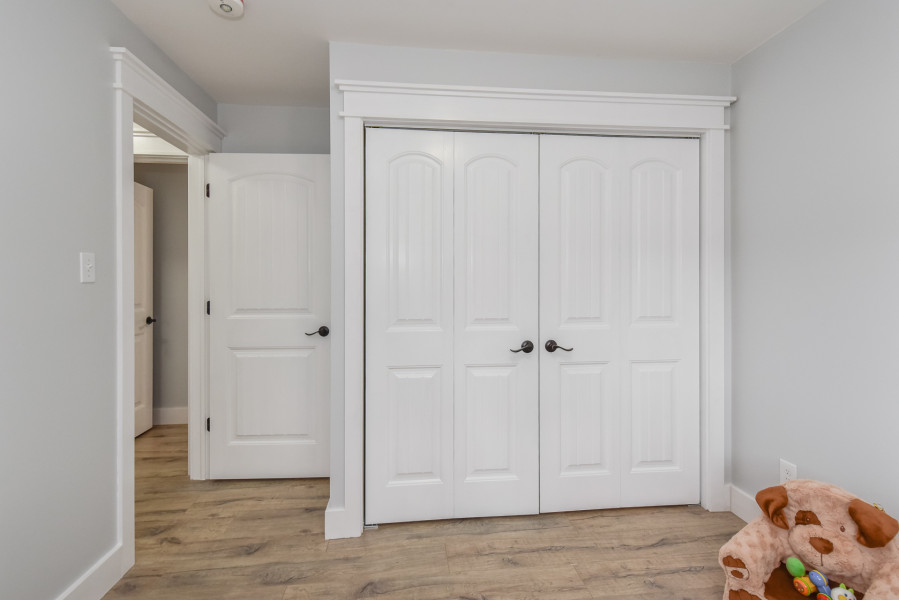
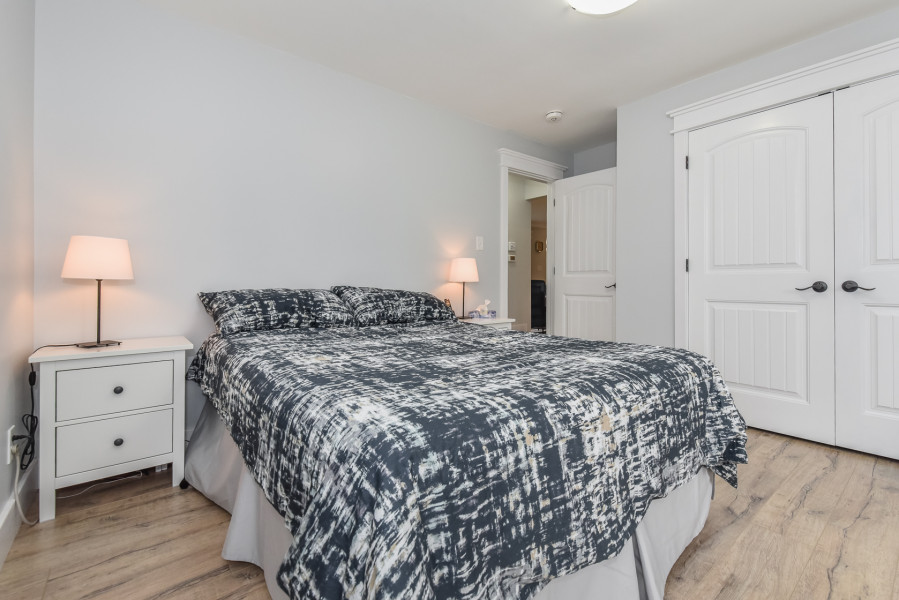
Reimagining the Floorplan for Modern Living
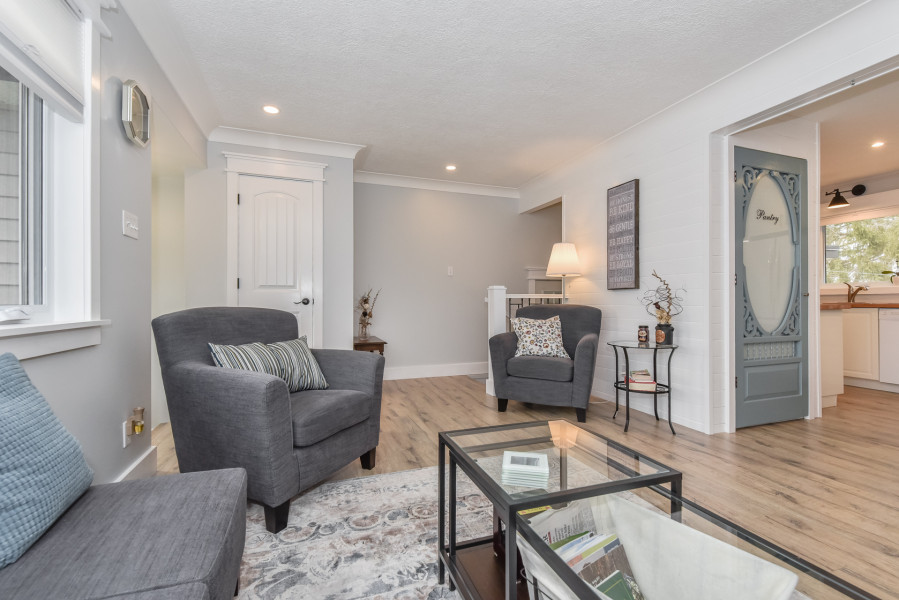
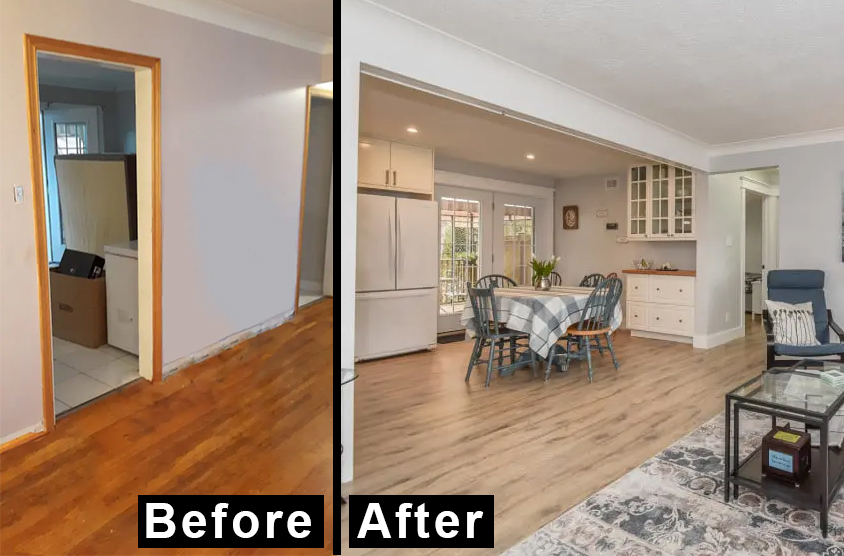
The floorplan was functional but very dated. The bedrooms shared a common closet wall which resulted in tiny closets in both rooms. The tiny galley kitchen doubled as the hallway to the stairs for the basement and carport, the eat-in kitchen area almost felt oversized. It had 2 doorways. The living room too was a generous size but had an awkward dead space in one corner with a strange ceiling light placement. (During the renovations, it became evident that the eat-in kitchen was originally a third bedroom, which meant that awkward corner in the living room used to be the dining room, explaining the odd light placement which was for the light over the table. It also explained the kitchen ceiling where someone tried unsuccessfully to smooth out the finish between the 2 rooms). Reconfiguring the stairs to come up into the living room instead of the kitchen allowed for use of that useless corner in the living room and freed up space in the kitchen for an additional 30” of counter and cabinetry. The principal bedroom gained a large closet by moving the bedroom wall into the eat-in kitchen by a little more than a foot. Now the common closet wall between the bedrooms could be used to make 1 large closet in the second bedroom.
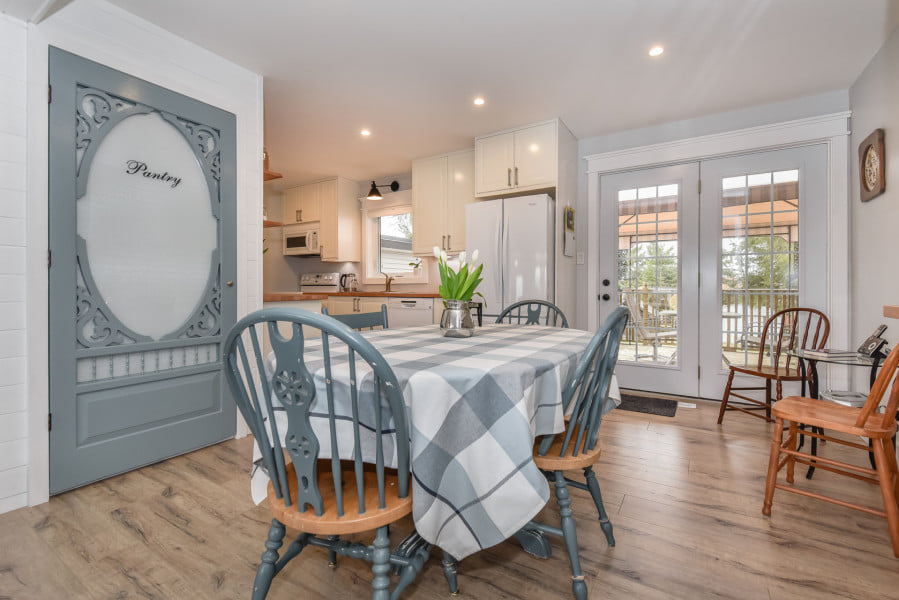
Maximizing Kitchen Space and Storage
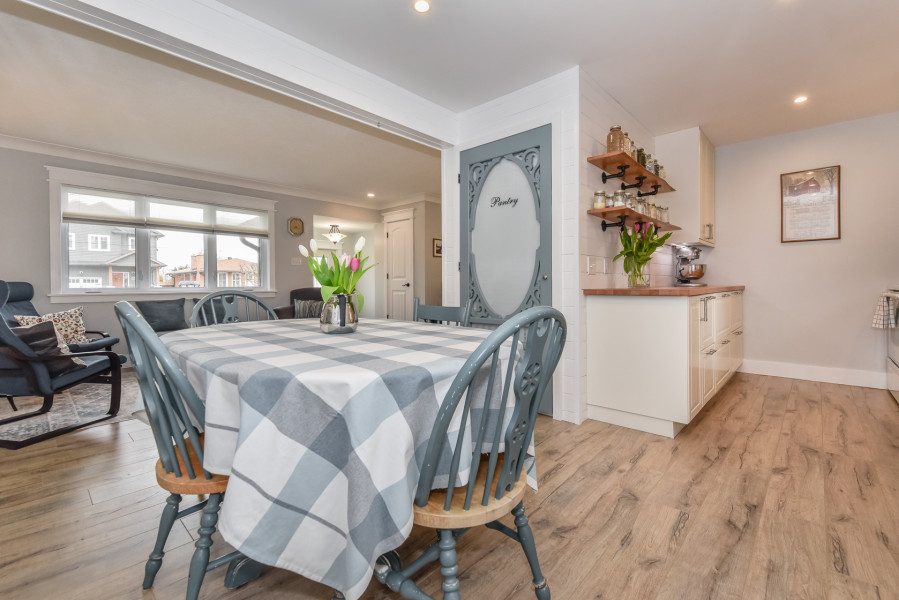
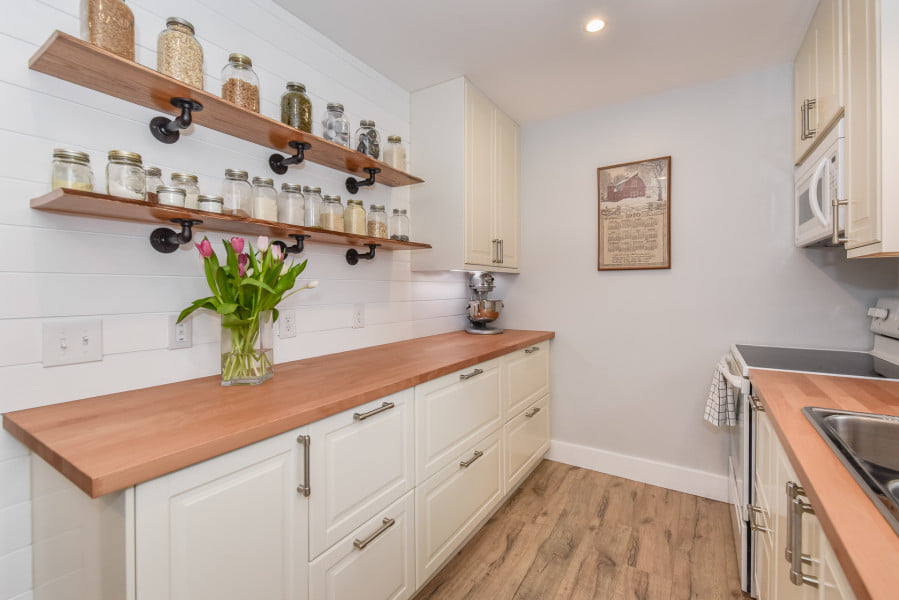
While there wasn’t enough space to consider a different configuration for the kitchen, the upper cupboards were replaced with 40” uppers to maximize storage. Upper cabinets and shallow lowers were installed in the eat-in kitchen area to create a coffee bar and china cabinet. The pantry cabinet was redesigned with custom shelving with a dedicated broom section.
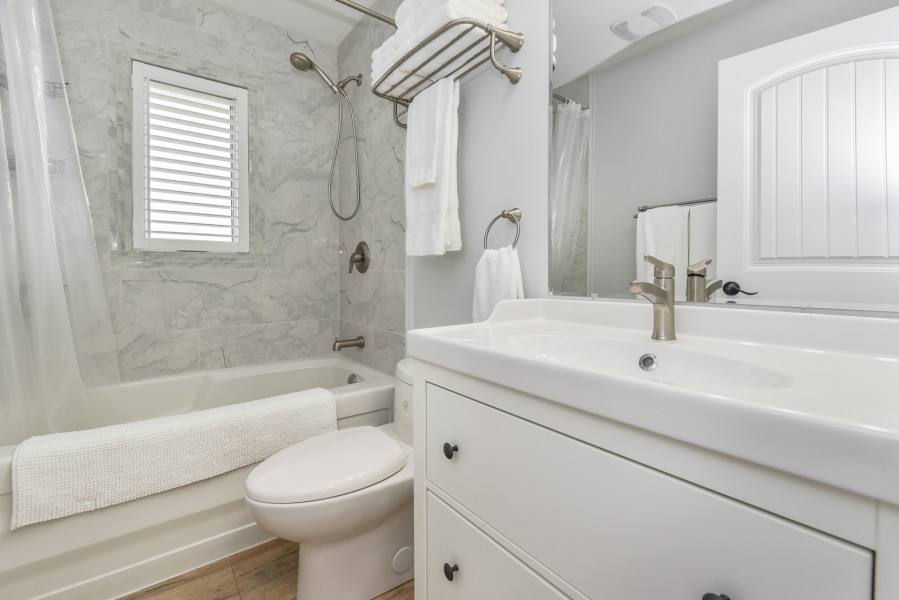
Revisiting the Living Room and Kitchen Aesthetics
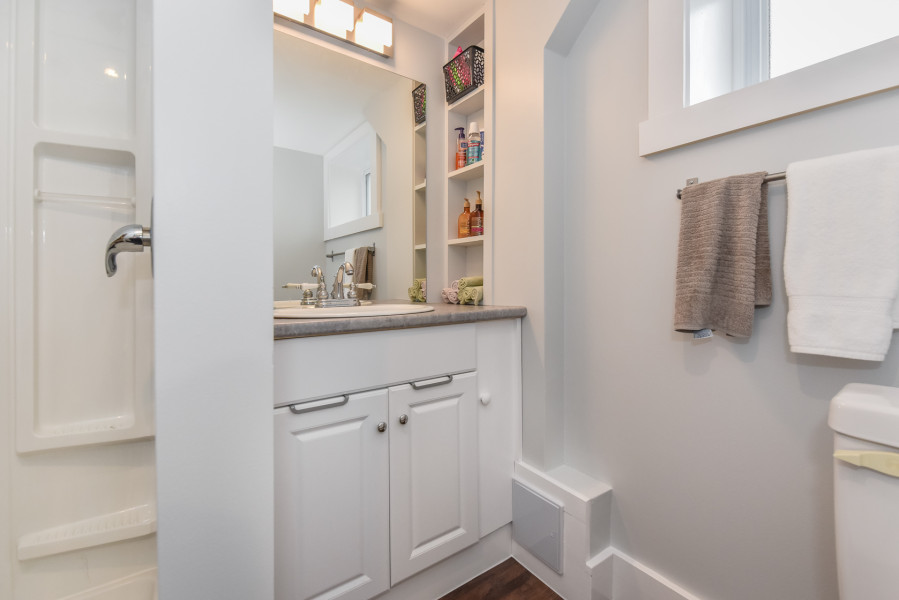
Installing a drop beam between the living room and eat-in kitchen not only opened the space, but provided the definition needed to maintain the plaster crown moulding. It also gave a definitive area to cover with drywall to hide the mess from the kitchen ceiling. The main floor bathroom had a newer bathtub, which was able to be reused, but everything else in the bathroom was replaced.
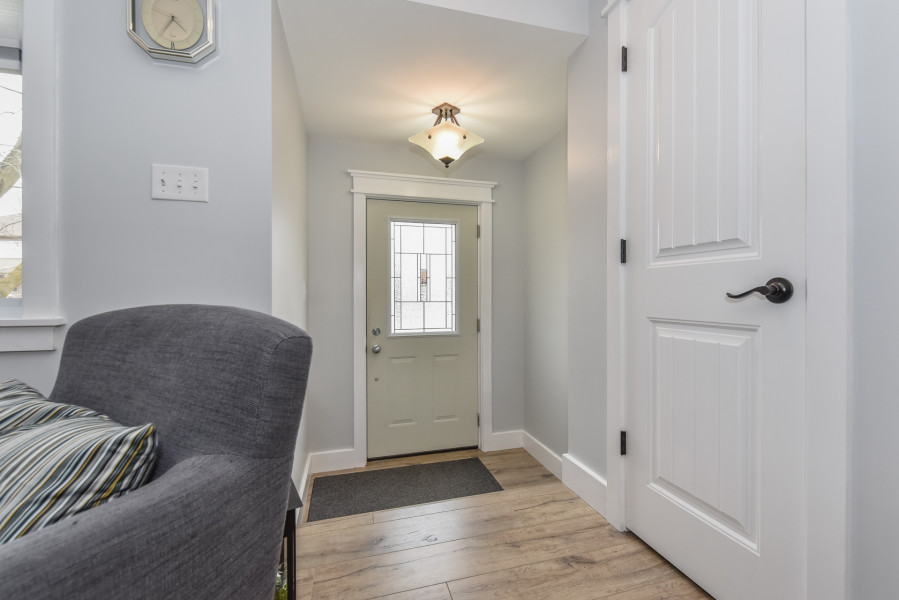
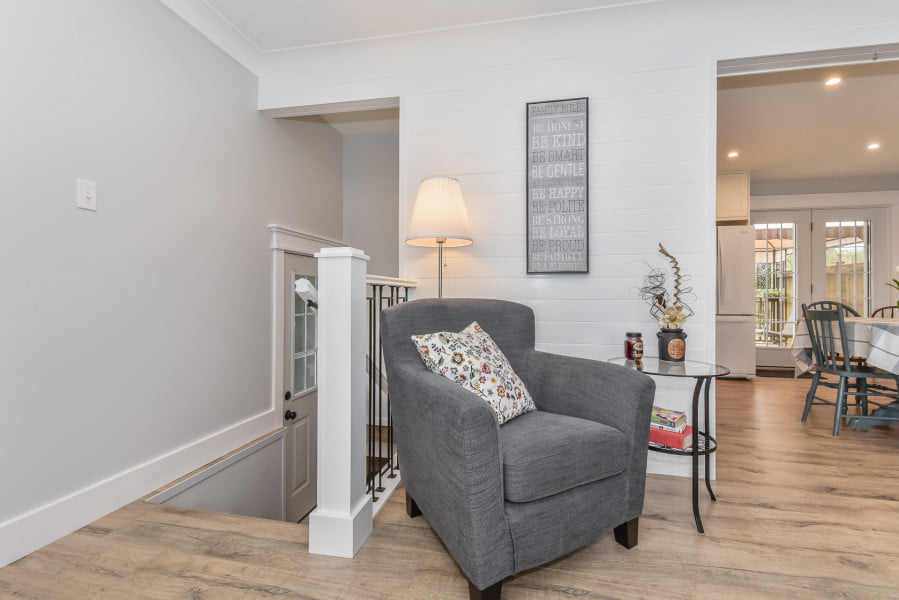
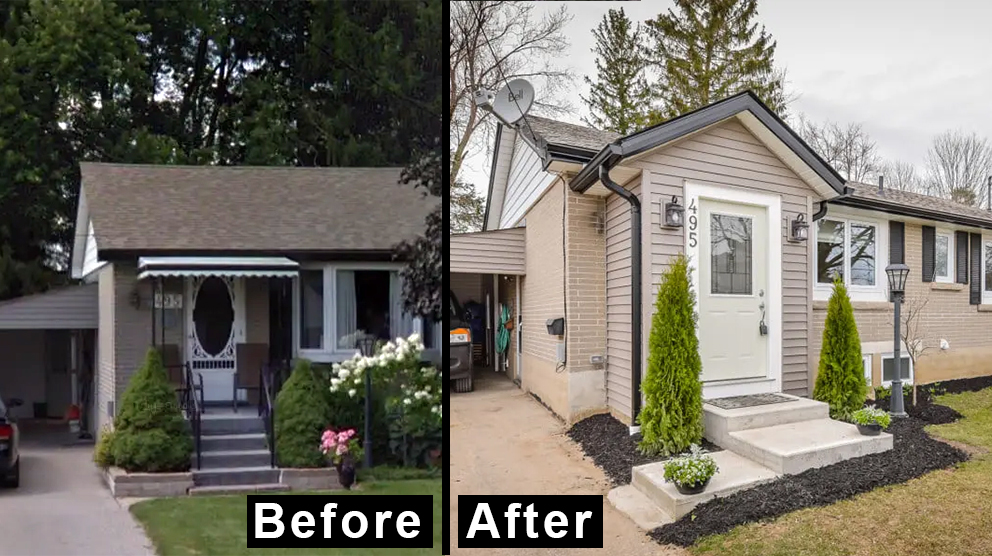
Creating a Front Foyer
To create the front foyer, the removal of the concrete steps, slab, and a few courses of concrete cinder block provided the perfect foundation. As the house roof had recently been shingled, it was easy to match the shingles for foyer roof. The granny screen door was repurposed to give the kitchen some character by becoming the pantry door.
Renovating with New Windows and Flooring
New windows were installed throughout the house, including the basement which still had some original wood windows. The bay window was converted to a standard window to allow for the framing of the foyer. New flooring was installed throughout the house. The stairs required matching nosing which was not available from the flooring supplier in a reasonable timeframe. The nosing was custom made and stained to match.
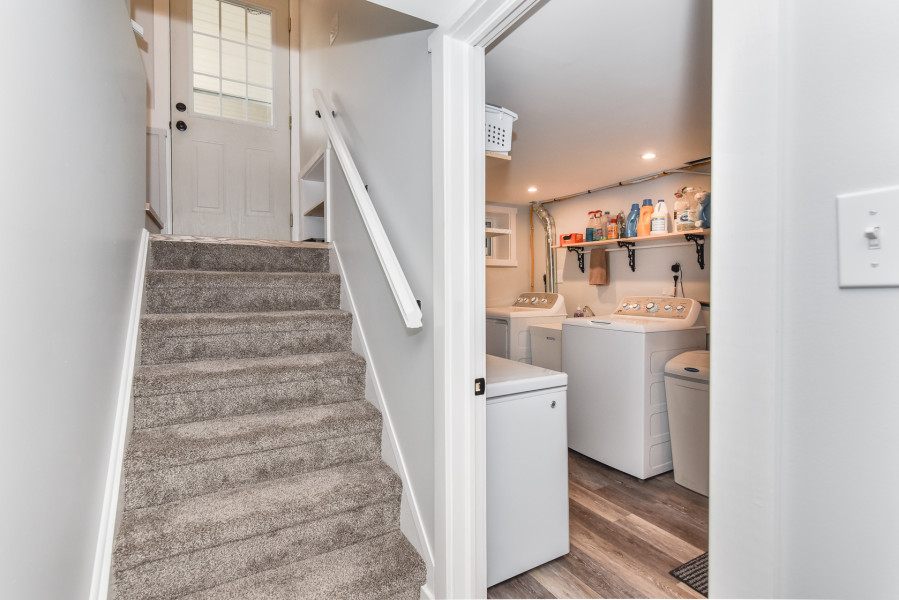
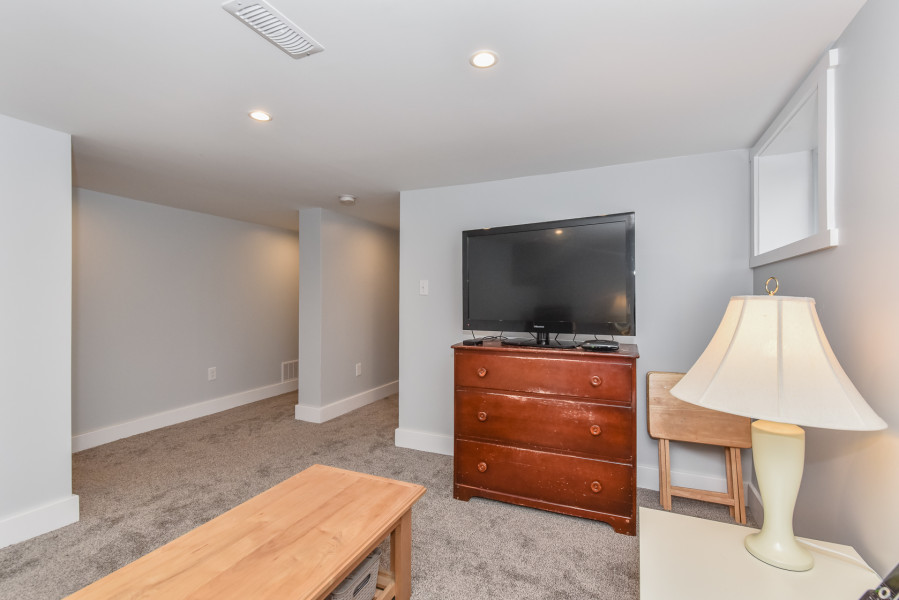
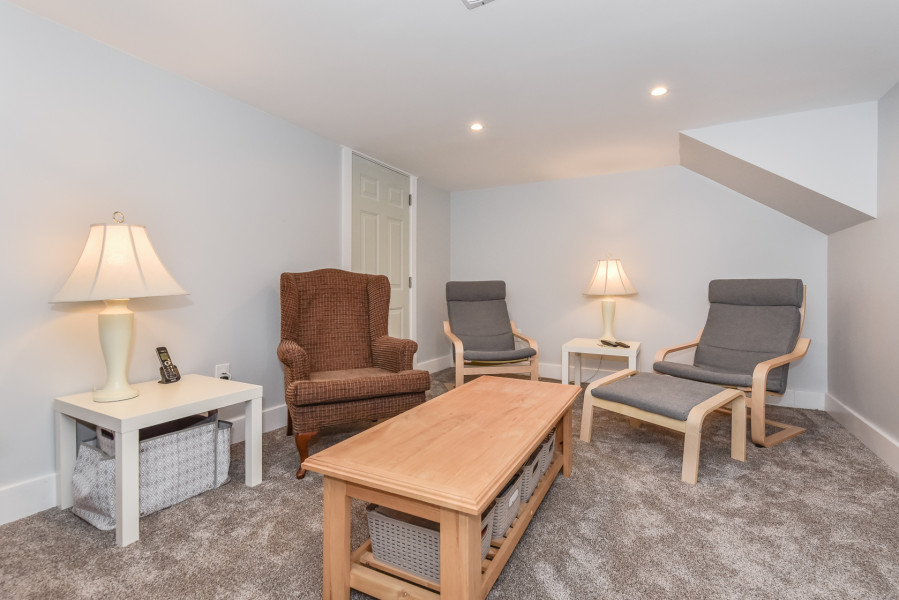
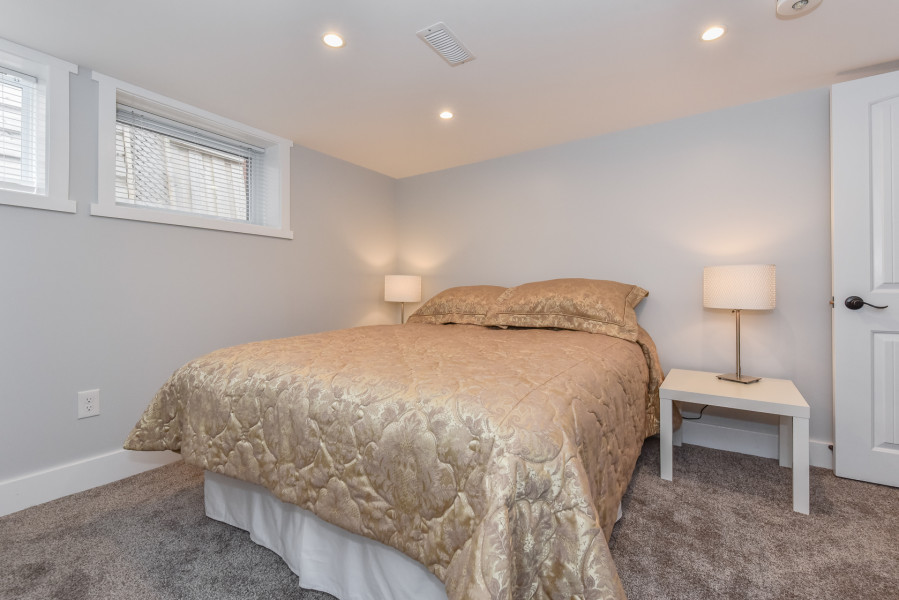
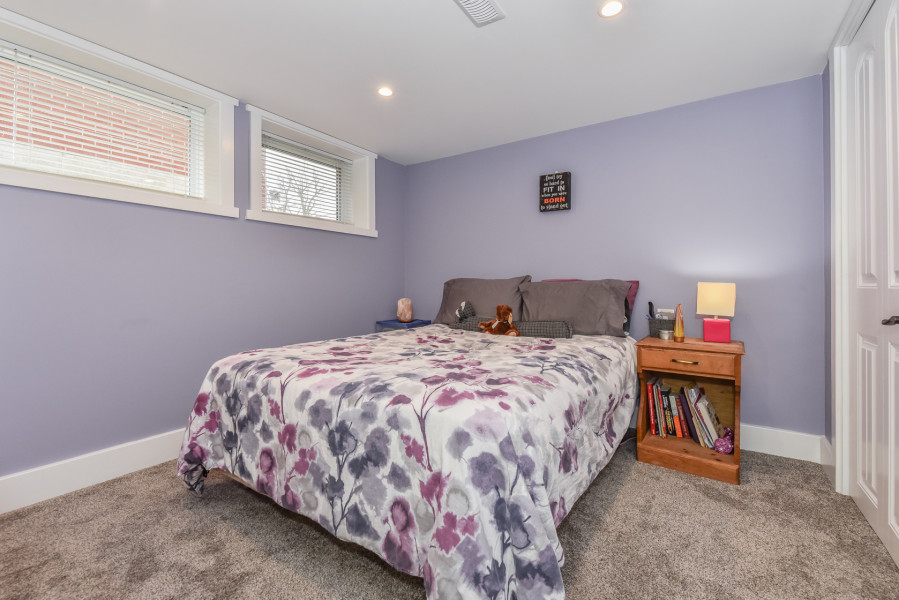
Overcoming Basement Challenges
The basement represented a whole different set of challenges to maximize the usable space. A little shorter than a standard basement today, maintaining a minimum requirement of 6’ 4-3/4” meant spending some extra money and being creative. The heating duct pipe that tested positive for asbestos was the main trunk and ran down the middle of the house eliminating any option to make that side of the basement for anything other than storage. As the asbestos containing paper coating on the trunk was exposed and not in the best of shape it needed to be removed and created the perfect opportunity for an HVAC system redesign! After the asbestos abatement, the newer furnace was moved to the exterior back wall and all new ducts were installed. With all the new energy efficiency and air sealing that was incorporated, the house needed to have an HRV to ensure the air would be exchanged and moisture controlled. A portion of the concrete block wall needed to be removed to accommodate the hallway for the second basement bedroom, so another beam was installed – this one was a flush beam that allowed for a smooth ceiling. To accommodate the basement bathroom, the floor had to be opened for the plumbing. Part of this process revealed there was a in issue with the aging connection to the sewer at the road. An unanticipated expense – but very necessary.
The end result of this project was a refreshed, functional open space with improved energy efficiency that cut the heating bill significantly. The post construction energy audit of this 1950’s bungalow equated the energy efficiency to that of a brand-new home.
~Stable Homes – Building Quality Into Life~ How can we build it into yours?